Vert.x 3.8.0已经发布(写这篇文章的时候),本次改动说大不大,说小也不小,删了之前介绍Vert.x 3.5的文章,重新使用3.8版本开发一个单点后台程序,为Vert.x发展信徒(误)
开发环境:idea+maven+mysql+java8
计划开发一个图书馆信息管理系统。只做最简单的api后台功能,目的是梳理Vert.x开发思路。能力一般水平有限,从代码出发,尽量说清楚相关的内容。
前端实在太复杂了,不感动不感动
本篇文章为第一章,创建项目,介绍一下基础知识,并创建http server监听web端口。
建立项目
创建maven工程,pom文件添加Vert.x依赖
<dependency>
    <groupId>io.vertx</groupId>
    <artifactId>vertx-core</artifactId>
    <version>3.8.0</version>
</dependency>然后创建对应的类com.bobo.library.MainVerticle继承AbstractVerticle抽象类,再重写start()函数
package com.bobo.library;

import io.vertx.core.AbstractVerticle;
import io.vertx.core.Promise;

public class MainVerticle extends AbstractVerticle {
    public void start(Promise<Void> startPromise) throws Exception {
        System.out.println("这里是 MainVerticle 的 start 方法");
    }
}我这里使用com.bobo.library.MainVerticle类作为程序入口,start()函数就相当于往常程序的
public static void main(String[] args) { } start() 函数
start()函数是 Verticle接口中定义的函数,当我们创建的Verticle被部署,将会自动执行start()函数。start()函数有3个重载
/**
  * If your verticle does a simple, synchronous start-up then override this method and put your start-up
  * code in here.
  * @throws Exception
  */
 public void start() throws Exception {
 }
   /**
  * Start the verticle.<p>
  * This is called by Vert.x when the verticle instance is deployed. Don't call it yourself.<p>
  * If your verticle does things in its startup which take some time then you can override this method
  * and call the startFuture some time later when start up is complete.
  * @param startFuture  a future which should be called when verticle start-up is complete.
  * @throws Exception
  */
 @Override
 public void start(Future<Void> startFuture) throws Exception {
   start();
   startFuture.complete();
 }
以及3.8.0版本新加入的
/**
 * Start the verticle instance.
 * <p>
 * Vert.x calls this method when deploying the instance. You do not call it yourself.
 * <p>
 * A promise is passed into the method, and when deployment is complete the verticle should either call
 * {@link io.vertx.core.Promise#complete} or {@link io.vertx.core.Promise#fail} the future.
 *
 * @param startPromise  the future
 */
default void start(Promise<Void> startPromise) throws Exception {
  start((Future<Void>) startPromise);
}
部署Verticle
写一个main方法测试部署一下
import com.bobo.library.MainVerticle;
import io.vertx.core.Vertx;

public class TestMain {
    public static void main(String[] args) {
        Vertx.vertx().deployVerticle(MainVerticle.class.getName());
    }
}运行TestMain,创建Vertx对象,部署Verticle对象,然后调用deployVerticle()函数部署前面的MainVerticle。部署完成后自动执行start()函数。
什么是Verticle
大多文章一般把这一项放在开头进行说明,虽然解释的十分详尽,但对于第一次接触Vert.x的新手来说,理解起来还是挺困难的。其实Verticle就是运行在Vert.x里的一个代码模块。Vert.x 和spring ,netty等框架不同,Vert.x 不止是一个框架,更是一个应用平台。我们可以使用各种语言编写Vert.x应用(其实就是Verticle),发布在Vert.x平台实例上运行。
如果Vert.x比作TomCat,一个Verticle就是webapps目录下发布的一个项目
创建 HTTP server Verticle
Vert.x官方文档中已经详细介绍了如何创建httpserve,这里就不再啰嗦了。直接编写代码进行讲解。
- 创建
com.bobo.library.http.HTTPServerVerticle,同样继承AbstractVerticle类,重载start()函数。 - 参考Vert.x官方文档创建
HttpServer对象,使用requestHandler函数为HttpServer对象绑定处理函数,监听对应tcp端口。(lambda语法是java8的魂,以后有心情专门梳理一下)
package com.bobo.library.http;

import io.vertx.core.AbstractVerticle;
import io.vertx.core.Promise;
import io.vertx.core.http.HttpServer;
import io.vertx.core.http.HttpServerResponse;

public class HTTPServerVerticle extends AbstractVerticle {
    @Override
    public void start(Promise<Void> startPromise) throws Exception {
        HttpServer server = vertx.createHttpServer();

        server.requestHandler(request -> {

            // This handler gets called for each request that arrives on the server
            HttpServerResponse response = request.response();
            response.putHeader("content-type", "text/plain");

            // Write to the response and end it
            response.end("Hello World!\n");
        });

        server.listen(8081);

    }
}- 发布
HTTPServerVerticle实例,在MainVerticle的start()函数中部署即可。
vertx.deployVerticle(HTTPServerVerticle.class.getName());- 启动
TestMain测试http服务
$ curl http://127.0.0.1:8081
Hello World!
至此一个简单的HttpServer监听就创建完成了。
路由 Router
上面示例的httpserver监听的是一个端口,所有到这个端口的请求都由requestHandler函数指定的Handler执行。一般我们正常的系统都有多个api接口。如果请求都发到同一个Handler再手动分发就太麻烦了。Vert.x-web中提供Router接口,使用Router接收HTTP请求并找到该请求的第一个匹配路由,并将请求传递给该路由。
先在pom.xml中导入Vert.x-web模块的依赖
<dependency>
    <groupId>io.vertx</groupId>
    <artifactId>vertx-web</artifactId>
    <version>3.8.0</version>
</dependency>改造一下HTTPServerVerticle
 @Override
public void start(Promise<Void> startPromise) throws Exception {
    HttpServer server = vertx.createHttpServer();

    Router router = Router.router(vertx);
    router.route().handler(routingContext -> {
        HttpServerResponse response = routingContext.response();
        response.end("Hello World from router!\n");
    });

    server.requestHandler(router);

    server.listen(8081);
}
这样所有的请求会被router拦截,通过route()函数获取所有的请求,然后由指定handler处理。
当然,一个路由可以绑定多个handler,按照顺序逐个执行。
router.route().handler(routingContext -> {
    HttpServerResponse response = routingContext.response();
    System.out.println("Hello World ");
    routingContext.next();
});
router.route().handler(routingContext -> {
    HttpServerResponse response = routingContext.response();
    System.out.println("from router!");
    response.end("Hello World from router2!\n");
});
routingContext 中封装了关于这次http请求的所有信息。
其中routingContext.request()中是所有的用户请求数据,例如
routingContext.getBody()表示POST、PATCH、PUT请求传递的request参数;routingContext.request();中包括getParam(String)获取参数,request.getHeader()获取请求头等等功能。
routingContext.response()是对用户请求的响应内容设置。
还可以使用order()函数设置handler()处理顺序。
router.route().order(1).handler(routingContext -> {
    HttpServerResponse response = routingContext.response();
    System.out.println("from router!");
    response.end("Hello World from router2!\n");
});
router.route().order(0).handler(routingContext -> {
    HttpServerResponse response = routingContext.response();
    System.out.println("Hello World ");
    routingContext.next();
});这段代码和上面的一段完全等价。需要注意,一个http请求只能response.end()一次,所以需要保证在最后一个路由中返回数据。
前面的router.route()函数没有指定路由匹配条件。所有的请求都会由被匹配到。如果我们由多个api接口,就需要为路由配置多个匹配。
router.route("/test/books").handler(routingContext -> {
    System.out.println("请求books接口,返回所有的书籍信息");
    HttpServerResponse response = routingContext.response();
    response.putHeader("Content-type", "application/json").end("[]");
});
router.route("/test/books/:id").handler(routingContext -> {
    HttpServerRequest request = routingContext.request();
    String id = request.getParam("id");
    System.out.printf("请求book接口,返回id为 %s 的书籍", id);
    HttpServerResponse response = routingContext.response();
    response.putHeader("Content-type", "application/json").end("{}");
    routingContext.next();
});上述代码表示为router添加两个路由,/test/books和/test/books/:id,匹配相同的uri分别处理。:id为restful风格的浏览器参数。虽然匹配了uri,但是所有到这个uri的请求都会被处理,遵循restful风格的话,我们还需要将请求细化。比如到/test/books的请求,get表示获取所有书籍信息,post表示添加书籍信息;到/test/books/:id的请求是精确到一本书籍的请求,get表示获取这本书籍信息,delete删除书籍信息,put覆盖更新书籍信息,patch增量更新书籍信息。
router.get("/test/books").handler(routingContext -> {
    System.out.println("get方式请求books接口,返回所有的书籍信息");
    HttpServerResponse response = routingContext.response();
    response.putHeader("Content-type", "application/json").end("[]");
});
router.post("/test/books").handler(routingContext -> {
    String bodyAsString = routingContext.getBodyAsString();
    System.out.println("post方式请求books接口,表示添加书籍信息。请求的post body为:" + bodyAsString);
    HttpServerResponse response = routingContext.response();
    response.putHeader("Content-type", "application/json").end(bodyAsString);
});
router.get("/test/books/:id").handler(routingContext -> {
    HttpServerRequest request = routingContext.request();
    String id = request.getParam("id");
    System.out.printf("get方式请求book接口,返回id为 %s 的书籍", id);
    HttpServerResponse response = routingContext.response();
    response.putHeader("Content-type", "application/json").end("{}");
    routingContext.next();
});
router.delete("/test/books/:id").handler(routingContext -> {
    HttpServerRequest request = routingContext.request();
    String id = request.getParam("id");
    System.out.printf("delete方式请求book接口,删除id为 %s 的书籍", id);
    HttpServerResponse response = routingContext.response();
    response.putHeader("Content-type", "application/json").end("删除书籍:" + id);
    routingContext.next();
});
router.put("/test/books/:id").handler(routingContext -> {
    HttpServerRequest request = routingContext.request();
    String id = request.getParam("id");
    System.out.printf("put方式请求book接口,更新id为 %s 的书籍", id);
    HttpServerResponse response = routingContext.response();
    JsonObject jsonObject = new JsonObject().put("id", id);
    response.putHeader("Content-type", "application/json").end(jsonObject.toString());
    routingContext.next();
});
router.patch("/test/books/:id").handler(routingContext -> {
    HttpServerRequest request = routingContext.request();
    String id = request.getParam("id");
    System.out.printf("patch方式请求book接口,增量id为 %s 的书籍", id);
    HttpServerResponse response = routingContext.response();
    JsonObject jsonObject = new JsonObject().put("id", id);
    response.putHeader("Content-type", "application/json").end(jsonObject.toString());
    routingContext.next();
});使用restful风格api,所有的uri实现内容一目了然。推荐阅读https://restfulapi.net/
lambda 语法能提高编码和部分执行效率,某种意义上代码也会更加明了。
本文代码链接
以下为吐槽,看到这里就关了吧
前段时间身体不太好,别人生病都是掉血掉蓝,为啥我感觉自己生病还掉智力呢。。。而且体重也上去了。博客一年多一段时间没有更新了,攒了一部分文章会陆续发出来,顺便换个主题换换心情。
前段时间Vert.x发布3.8.0,这次版本迭代改动还是挺大的,不少我以为会在4.0版本发布的内容被提前发布出来了,于是我获得了下面的惊喜。。。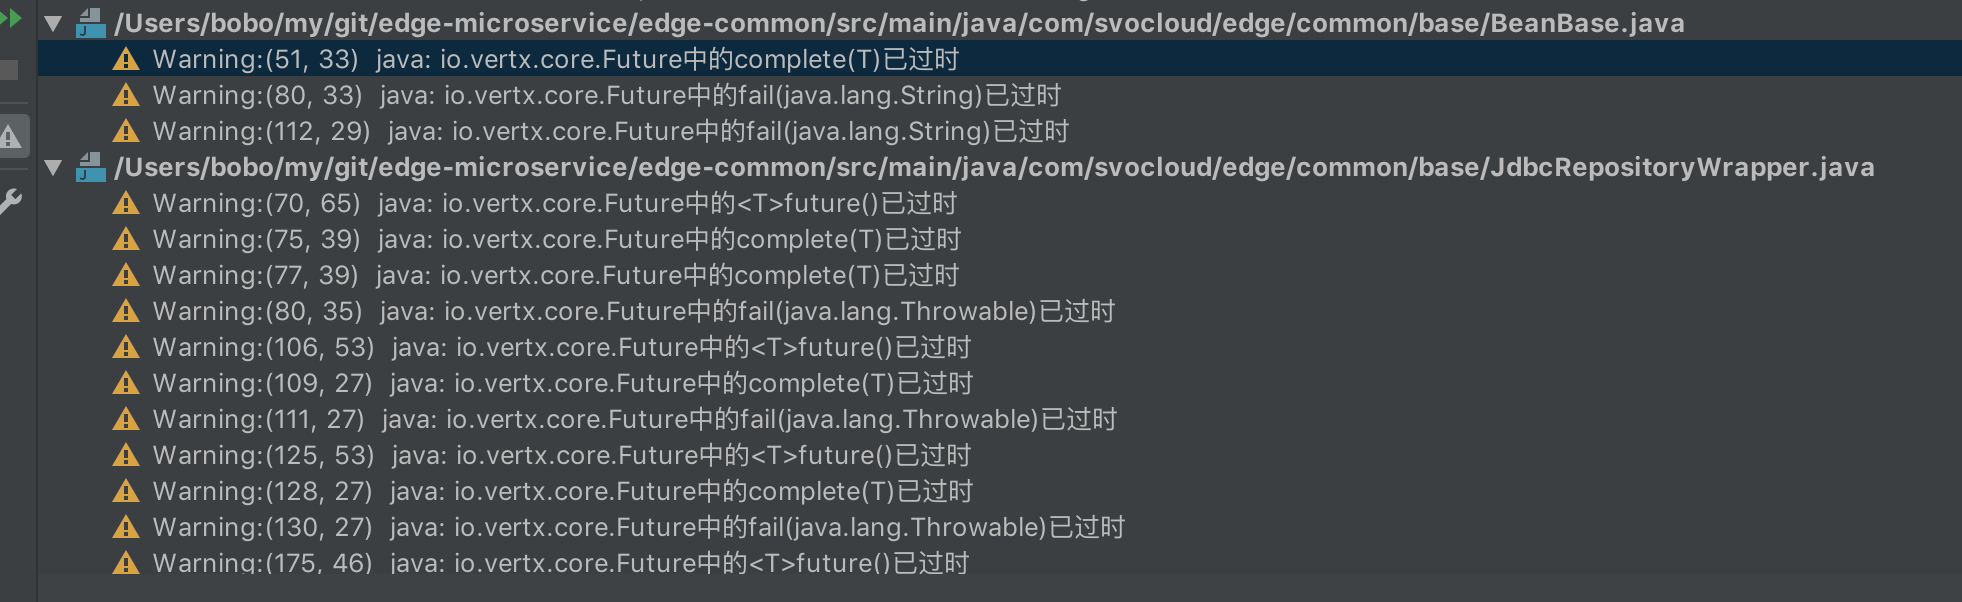
整个项目都在warning,几百个模块代码都需要重组。。。。
不过3.8.0毕竟还是小版本,比较根本的东西并没有改动,加加班也就搞定了。